Step-by-Step Guide to Replant Seedlings Without Stress
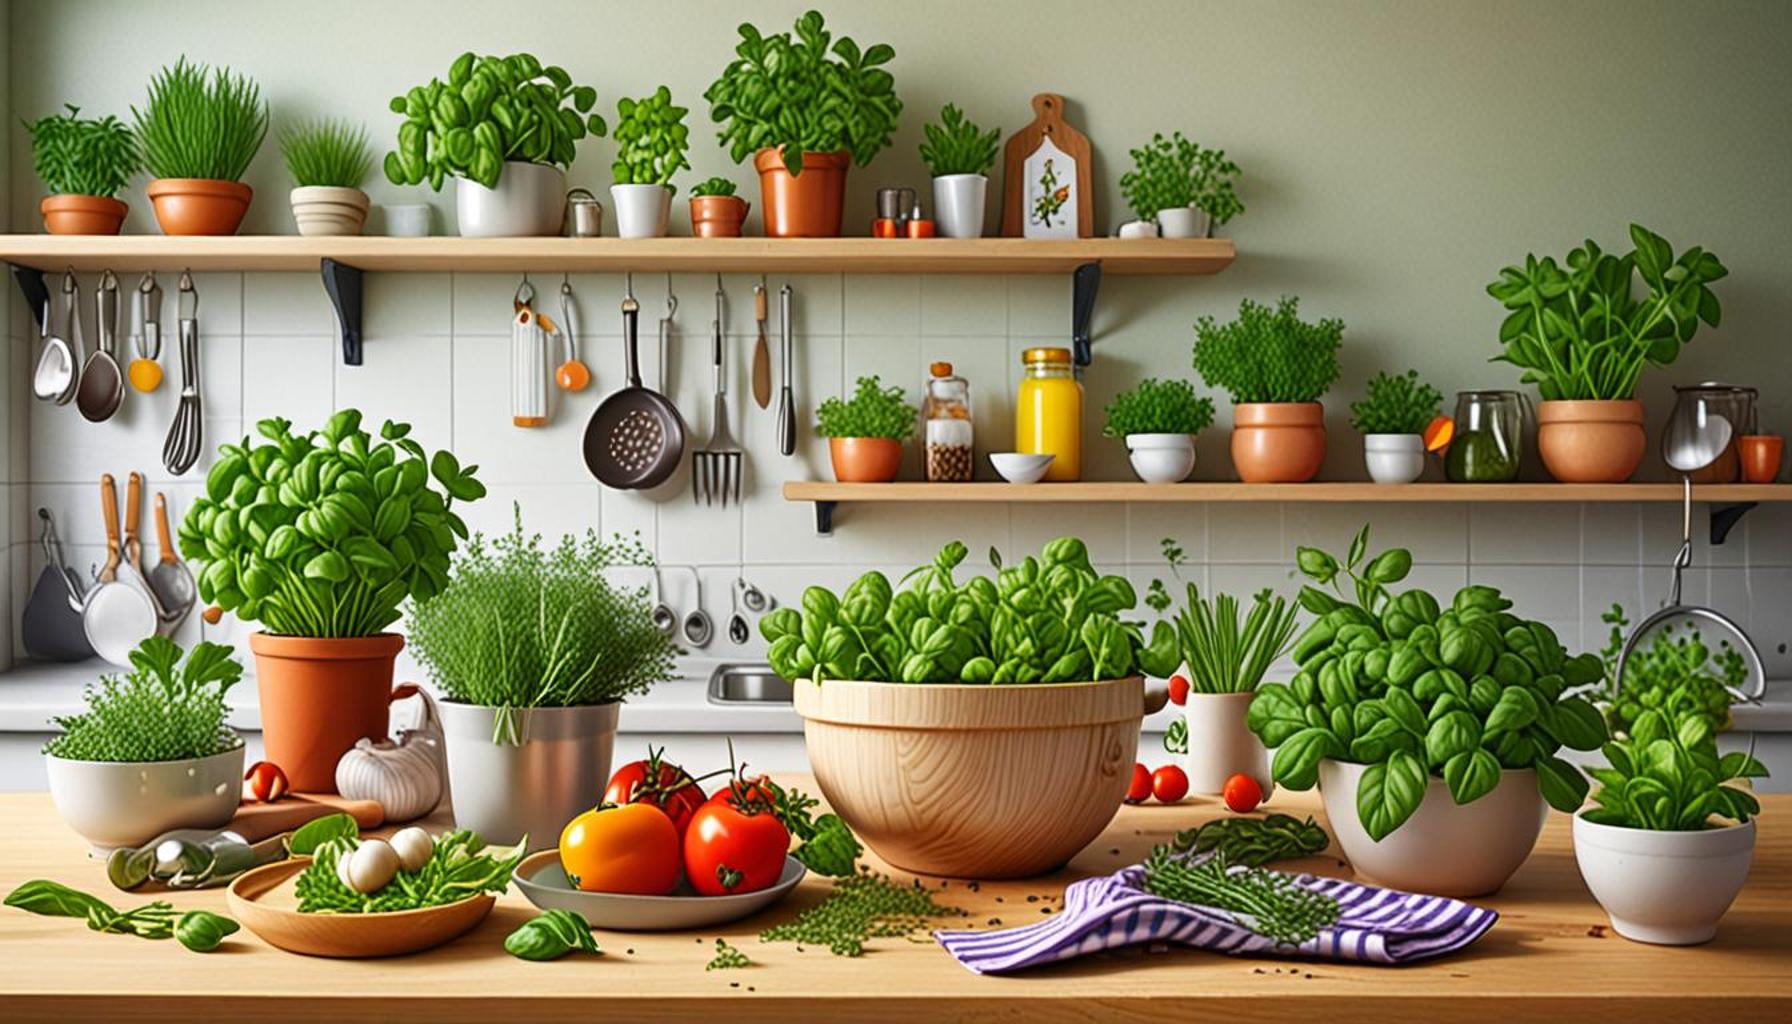
The Importance of Transplanting Seedlings
Transplanting seedlings may appear daunting at first, yet it represents a vital step toward achieving a flourishing garden. Understanding the nuances of this process can enhance not only the health of your plants but also your confidence as a gardener. Whether you’re a novice or seasoned pro, embracing a step-by-step guide to transplanting seedlings will streamline your efforts and yield impressive results.
Key Benefits of Transplanting
Successfully replanting seedlings offers several essential benefits that can significantly impact the health and productivity of your garden:
- Improves plant health: When seedlings are transplanted into larger pots or the ground, they gain access to a greater volume of nutrient-rich soil. This allows their roots to spread out, enhancing their ability to absorb essential nutrients and water. For instance, tomatoes benefit from more space, which typically leads to robust fruit production.
- Reduces transplant shock: By transplanting seedlings at the right time and using proper techniques, you can mitigate the stress associated with moving them to a new environment. This is crucial as a gentle transition can lead to stronger plants that establish themselves quickly in their new setting.
- Encourages faster growth: When seedlings are given ample room to expand their roots, their growth can accelerate. This means you can enjoy the fruits of your labor sooner. Fast-growing vegetables like radishes can mature in as little as three weeks when they are relocated to ideal conditions.
Essential Techniques for Successful Transplanting
To ensure a smooth process, several techniques are worth mastering. First, selecting the right potting mix is fundamental. A lightweight, well-draining mix encourages root health and minimizes water retention, preventing root rot—a common pitfall for many gardeners.
Next, timing is crucial. Transplant seedlings when they are sturdy, generally when they have at least two sets of true leaves, which indicates they are ready to face the world outside their original containers. Additionally, consider the weather; early morning or late afternoon when temperatures are cooler can significantly decrease the chances of shock.
Prepare for Success
With the right knowledge and preparation, you can approach the art of replanting with confidence, minimizing anxiety and maximizing your gardening enjoyment. Equip yourself with essential tools, such as a trowel, watering can, and plant food, to facilitate a more efficient transplanting process.
In conclusion, nurturing your seedlings with care and attention can lead to vibrant plants and a fulfilling gardening experience. Take a deep breath, gather your tools, and prepare to witness your seedlings transform into robust, thriving plants that bring life to your garden!
SEE ALSO: Click here to read another article
Optimal Timing for Transplanting Seedlings
Timing can be the critical factor in the success of replanting seedlings. Understanding the growth stages of your plants is essential for ensuring their successful transition from one environment to another. Seedlings should ideally be transplanted when they have developed at least two true leaves—these are distinct from the initial seed leaves and point to a strong foundation. Each plant species may vary slightly in its needs, so keeping track of your seedlings’ growth is beneficial.
Beyond physical development, consider external factors such as weather conditions. Transplant on a cloudy day or during cooler parts of the day, such as early morning or late afternoon. This gentle start reduces moisture loss and minimizes stress on the seedlings. If you live in a particularly hot area, the shade of early evening can protect your delicate plants from sudden temperature spikes and sunburn.
Gathering the Right Tools
Preparation doesn’t stop at timing; it extends to assembling the necessary tools to facilitate a smooth transplanting process. Some essential items include:
- Trowel: A small hand tool is perfect for digging up seedlings and transferring them without root damage.
- Watering can: Ensure your seedlings are hydrated before and after transplanting. A gentle watering can helps evenly distribute moisture.
- Potting mix: Invest in a high-quality potting mix designed for seedlings. This not only provides nutrients but also ensures proper drainage.
- Labels: Use labels to mark the variety of seedlings you’ve planted. This can help you track their progress and care instructions, especially if you’re cultivating a variety of plants.
- Gloves: Since transplanting can be messy, a pair of gloves will keep your hands clean and protected.
Preparing Seedlings for Their New Home
Before moving your seedlings, it’s advisable to acclimate them to their new environment gradually. This process, known as hardening off, involves exposing seedlings to outdoor conditions gradually over several days. Start by placing them outside in a shaded area for a few hours and slowly increase their exposure to sunlight and outdoor temperatures. This practice enhances the seedlings’ resilience and significantly reduces the likelihood of transplant shock.
Moreover, ensuring the new planting holes are prepared in advance can make the transplanting process smoother. Digging holes that are wide and deep enough to accommodate the root system will aid in quick establishment. Consider adding organic matter like compost to the planting holes to boost nutrient availability and improve soil texture.
The Transplanting Process
When it’s time to replant, be sure to handle seedlings gently. Grasp them by their leaves, not the stem, to prevent breakage. Position seedlings slightly deeper than they were in their original containers, promoting stronger root growth. After transplanting, water them thoroughly to settle the soil around the roots and eliminate any air pockets.
By carefully preparing your seedlings and their new environment, you can ease the replanting process. In the next section, we will explore additional tips to maintain optimal care after transplanting, ensuring your seedlings continue their journey toward becoming thriving plants.
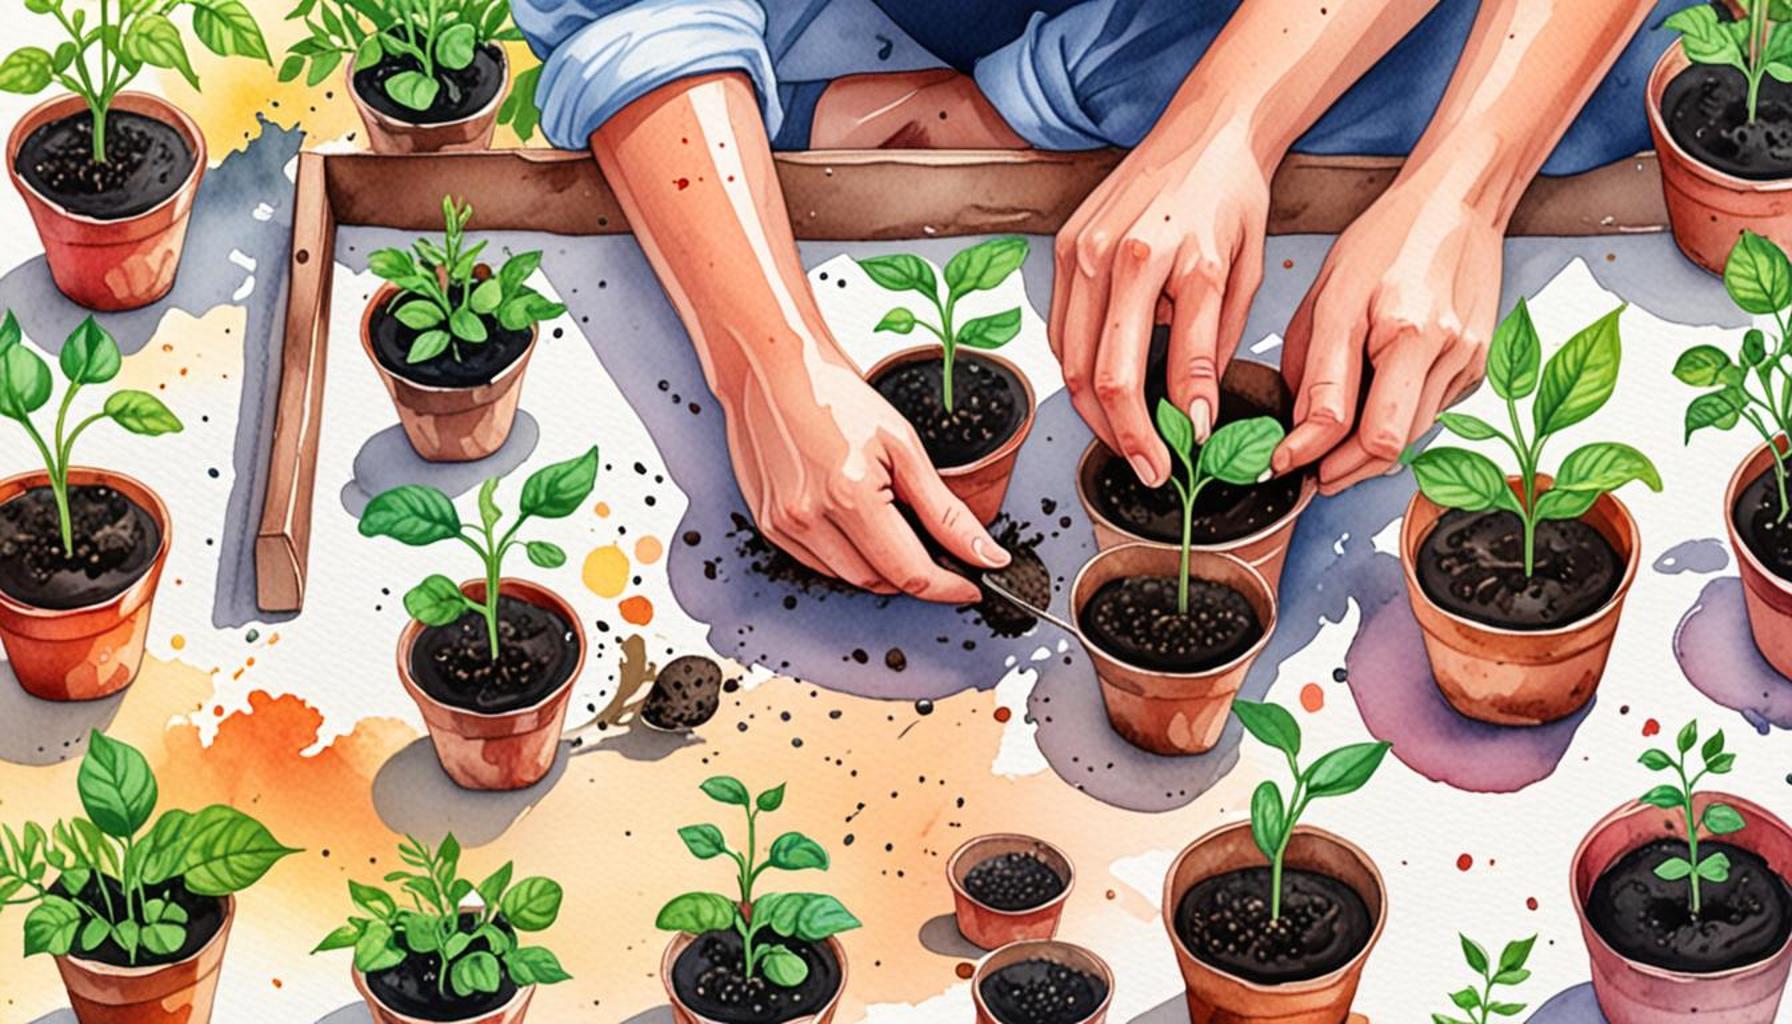
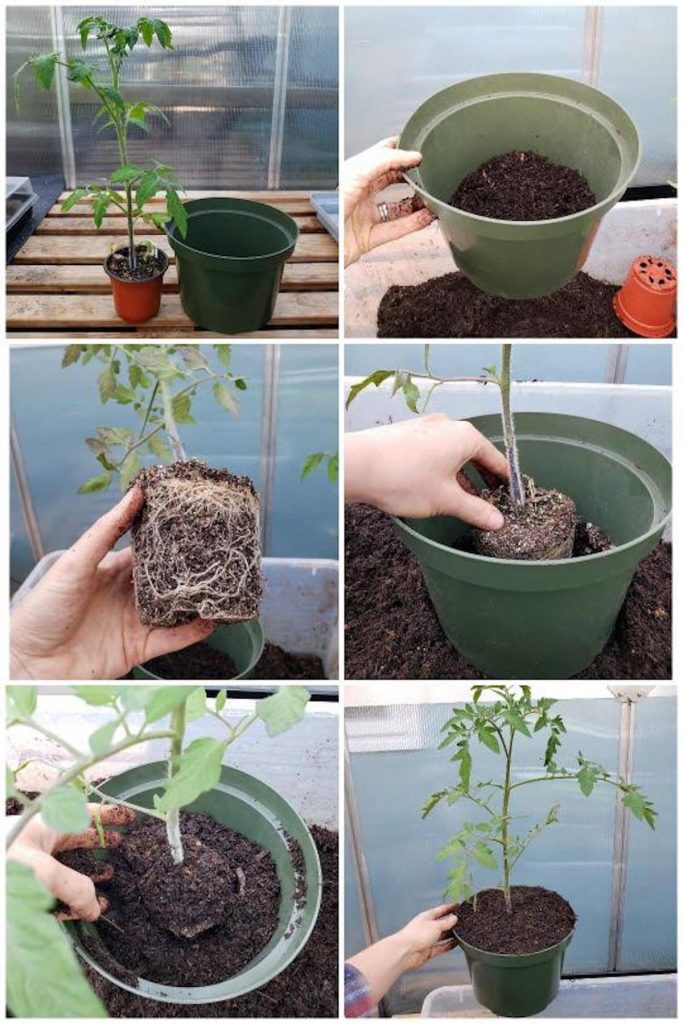
Step 3: Preparing Your Seedlings
Before you dive into transplanting your seedlings, it’s crucial to prepare them properly. Start by gently removing the seedlings from their current containers. To do this, carefully run a finger around the edges of the pot to loosen the root ball. This step minimizes root damage and increases your chances of successful transplantation.
Step 4: Selecting the Right Location
Your seedlings’ new home should provide the right balance of sunlight and protection from harsh weather. Ideally, choose a location that receives plenty of indirect sunlight throughout the day. Avoid shady areas or spots directly exposed to strong winds, as they can stress your young plants.
Step 5: Digging Holes for Transplanting
Once you’ve picked the perfect spot, it’s time to prepare the planting holes. Dig holes that are slightly larger than the root ball of your seedlings to give them plenty of room to grow. Make sure to space the holes adequately, according to the type of plant you’re working with, to prevent overcrowding.
Step 6: Transplanting the Seedlings
Now comes the exciting part! Place each seedling gently into the prepared hole, ensuring that the soil level is consistent with the surrounding area. Backfill the hole with soil and press down lightly to eliminate air pockets. This moment is critical as it supports the growth of seedlings and helps establish a strong root system.
Step 7: Watering After Planting
After transplanting, give your seedlings a good drink of water. This step aids in settling the soil around the roots and provides them with essential moisture. It’s crucial to keep an eye on your seedlings’ watering needs during their adjustment period.
Step 8: Providing Continuous Care
Following transplanting, your seedlings require ongoing care to thrive. Monitor them for any signs of stress, such as wilting or yellow leaves, and adjust care as necessary. Regular fertilization and weeding are essential to help them develop strong and healthy.
| Advantage | Description |
|---|---|
| Reduced Stress | Following this guide helps minimize the shock to seedlings during replanting. |
| Enhanced Growth | Properly transplanted seedlings are more likely to flourish in their new environment. |
By following this step-by-step guide, you can ensure a smooth transition for your seedlings, allowing them to thrive without added stress. Remember that patience and care are key to successful replanting!
SEE ALSO: Click here to read another article
Post-Transplant Care: Ensuring Healthy Seedling Growth
Once seedlings have been successfully transplanted, the focus shifts to providing proper care to foster their growth in the new environment. This phase is crucial as it sets the foundation for healthy plants and reduces the risk of transplant failure. Understanding the essentials of post-transplant care can make all the difference in nurturing your garden.
Watering Practices
Immediately after transplanting, a thorough watering is essential to promote soil-to-root contact. Ensure that the water reaches the root zone deeply, encouraging roots to stretch down into the soil. However, be cautious not to overwater, as this can lead to root rot. In the first week following transplantation, monitor the moisture levels closely and water when the top inch of soil feels dry. This balance is critical for establishing a robust root system.
Employing a strategy known as “drip irrigation” during this stage can significantly ease watering tasks. This method allows you to deliver water directly to the roots, encouraging efficient moisture retention without oversaturation. As the seedlings grow and roots spread, adjust your watering approach based on plant size and environmental conditions to prevent unnecessary stress.
Providing Adequate Sunlight
After transplanting, it is essential to assess your seedlings’ sun exposure. Most seedlings require at least 6 to 8 hours of direct sunlight each day to support photosynthesis and growth. If your plants are still adjusting, temporary shade cloth can help protect them from harsh sunlight until they acclimate fully. As they grow accustomed to their new environment, gradually reduce shade to allow for full sunlight exposure, ensuring they thrive in their new homes.
Fertilization for Support
Along with proper watering and sunlight, fertilizing your seedlings with a diluted, balanced fertilizer can significantly improve their resilience and stimulate growth. After a week of settling in, consider applying a liquid fertilizer with a balanced N-P-K ratio (Nitrogen-Phosphorus-Potassium) to provide essential nutrients. Be cautious with the quantity—over-fertilization can harm seedlings, so it is better to under-feed than overdo it at this delicate stage.
Pest and Disease Management
Another critical aspect of post-transplant care is vigilant monitoring for pests and diseases. Seedlings can be particularly vulnerable to these threats when in transition. Regularly inspect your plants for signs of distress, like discoloration or wilting, which could indicate underlying issues. Implement organic pest control methods, such as neem oil or insecticidal soap, to manage any infestations without harming your seedlings.
Additionally, maintaining proper spacing between plants can reduce competition for nutrients and help with air circulation, which reduces the risk of fungal diseases. Keeping the area around your seedlings clean and free from debris also helps create an environment less conducive to pests and diseases.
Creating a Supportive Environment
Other factors contributing to a successful transition include wind protection and temperature regulation. If you live in windy areas, consider using protective barriers like stakes or garden fencing around your seedlings. Similarly, in regions where temperature fluctuations are significant, using row covers or cloches can help maintain a stable climate for your seedlings as they adapt.
By focusing on these nurturing practices, you will provide your seedlings with the best chance of thriving in their new environment. With patience and attention to detail, you’ll witness the fruits of your labor in vibrant and healthy plants that flourish in your garden.
SEE ALSO: Click here to read another article
Conclusion
Successfully replanting seedlings without stress is not just a matter of technique; it involves understanding the holistic needs of your plants during this crucial period of transition. By adhering to the step-by-step techniques outlined in this guide, you pave the way for your seedlings to flourish successfully in their new environment. Remember, the most critical aspects post-transplant are patient watering practices, diligent monitoring of sunlight exposure, and appropriate fertilization—all vital for nurturing the roots and supporting robust growth.
Moreover, vigilance against pests and diseases cannot be overlooked, as proactive monitoring ensures that your seedlings remain healthy and strong. Utilizing natural pest control methods helps maintain an eco-friendly garden while protecting your investments. In addition, creating a supportive environment through wind protection and temperature regulation enables your new plants to adapt comfortably.
With these guiding principles, you shift from mere survival to ensuring your seedlings thrive, rewarding you with vibrant blooms and bountiful harvests. As you refine your transplanting techniques, don’t hesitate to explore new methods or even engage with fellow gardening enthusiasts. Continuously learning and adapting will deepen your understanding of plant care and enhance your gardening success. In the end, the journey of nurturing seedlings can transform into an enjoyable and enriching experience, filled with the satisfaction of watching your garden flourish.